Word Wall Word Cutups (Still In Progress)
Progress has been made! Since last time, I have finished quite a bit for my Word Wall project (initial description here). I even completed several things I didn’t think I would have to do!
The first thing is that some of the quotes I got for laser cutting and water jet cutting some of the pieces were fairly right on, and some were fairly right off. Note to self: apparently cnc milling is obscenely expensive, and 3d printing is not as accessible in cost as I thought unless you are creating small parts or prototyping. This leads directly into the second thing, which is a redesign of how the buttons work. The redesign loses my holy grail of a smooth front panel. Instead the buttons will be inset by the depth of the front panel, which has been thinned a bit, partially for this reason. The pro to this part of the redesign is that if I run into some mad money, or figure out another way to create the buttons in raised acrylic like I was originally going for, I can swap out the button panels to get my smooth front surface, and leave everything else exactly like it is.
Second, I have completed the electronics/brains portion, and sourced a computer for the internals. The electronics for the buttons and button lights is based off of the Monome open source project. I had made a kit version of the Monome previously, which is part of what got me thinking about this tangential buttons and lights project. I was thinking that I was going to have some pcbs (printed circuit boards) made from the files available under the Arduinome branch of compatible open source hardware (sounds more confusing than it is, but the short of it is that you are allowed to make your own pcbs). While working on planning this out, I found a person who wanted to sell his unused Monome mk kit, and I purchased the heck out of it. Monome is a boutique shop in numbers, and they don’t have a “store” as such, it’s more of a “we’ve got these right now, who wants ’em?” This is some good luck, as these particular kits sold out in limited numbers months ago. This saved me much time, effort, ordering, waiting, and soldering time. After doing some simple soldering a couple weekends ago, I had the boards soldered and ready to go. This possibly took a little bit more money than making the pcbs, and a fair bit more than wiring up prototype boards, but it’s also a known entity. The Monome people make quality boards, and I can cross this off the list of things to worry about or have to make repairs to further down the road. And I want to take this on the road, so that’s important.
As for the computer, I’m going to be using an old Apple Mac Mini with the old PPC G4 chip. I was thinking I would have to have a newer Intel chip model for this project, but it looks like this will work fine. If I get into doing some more in depth programs for the wall, I may have to upgrade at a later date. The Mac Mini is fairly tiny, and it uses very little power, which makes it great for this project. The other option I was looking at was finding an old MacBook with a busted display, which is fairly close to being a Mac Mini as well.
")
Mac Mini (braaaaiiinns!)
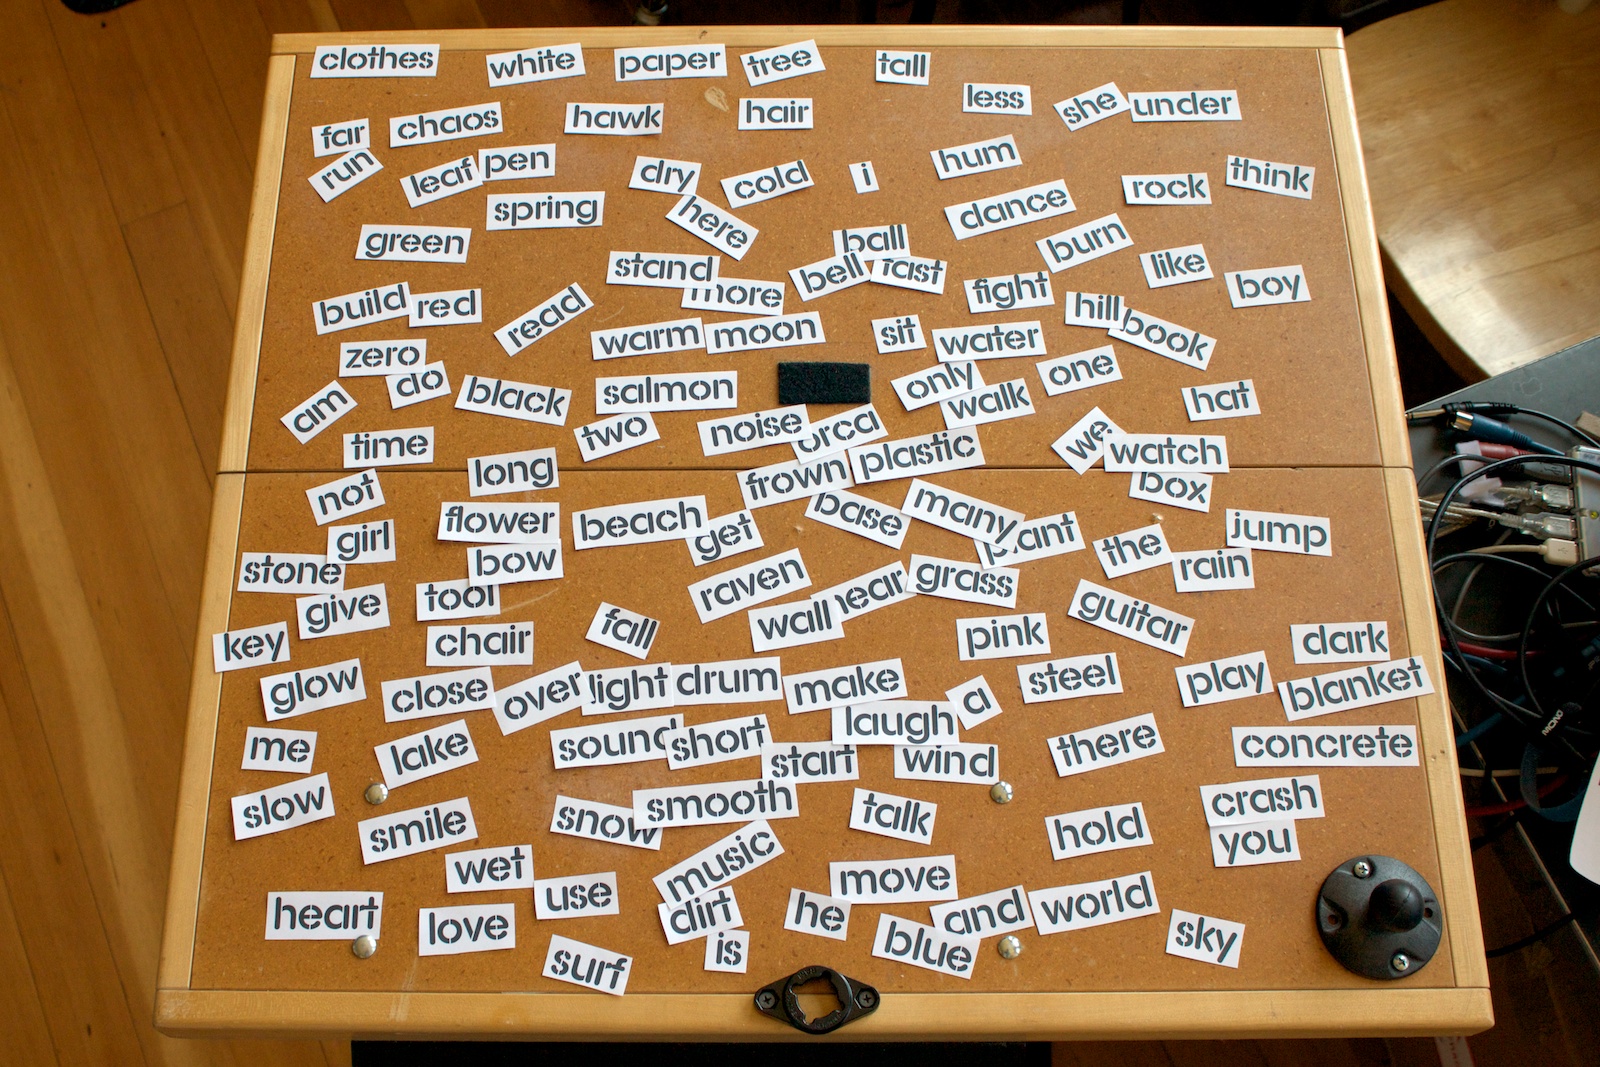
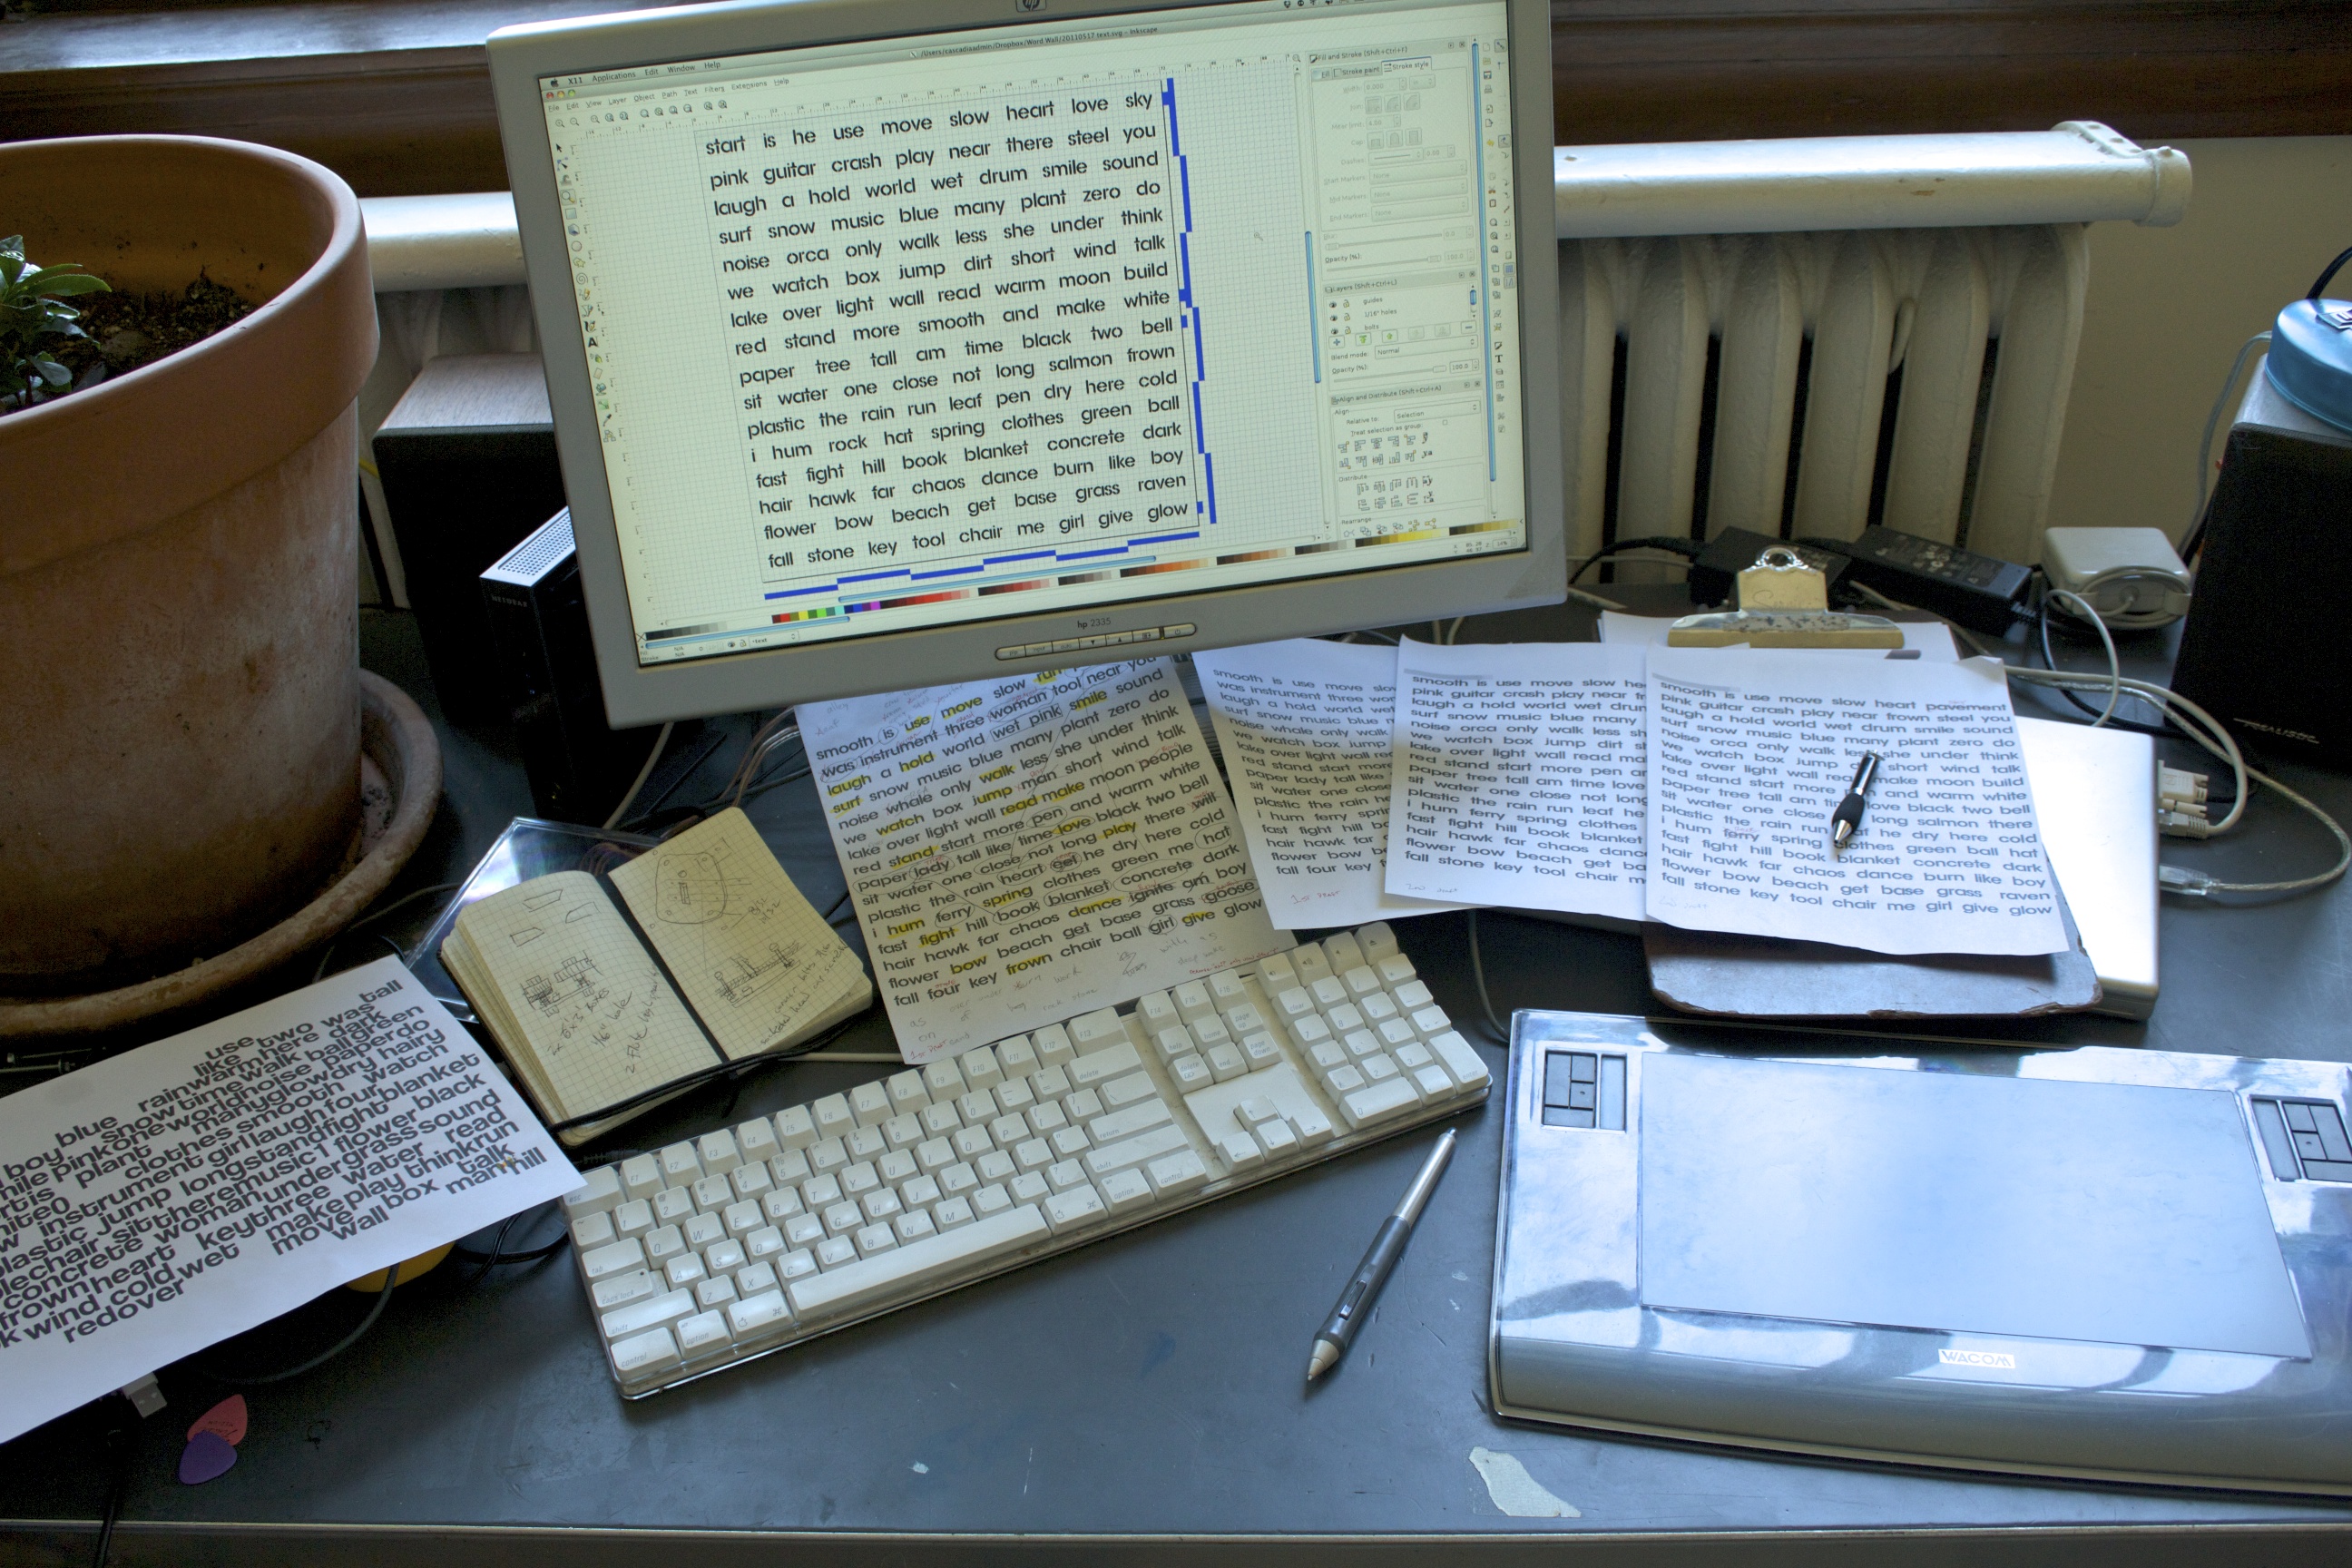
Next up is the words themselves. Incalculable time has been spent thinking in various ways about the words that will cover this panel (although I believe I tracked most of my time). Thinking up 128 words sounds extremely simple until you think about those words costing almost $1500 every time you want to change them. I’ve sent the word lists to all my various wordy people, I’ve printed lists of the words in various formats, I’ve made haiku-esque poetry using the words, I’ve printed the words, cut them out, and arranged and re-arranged them, and all of these through different revisions of the lists. This is actually the one last thing holding me up in submitting the final files to the water jet company. I’m finalizing the word list this weekend, finishing the drawings Sunday night, and submitting the files Monday morning. I should get the water jet panel back within a week.
The design and plan for the buttons and lights is completed, and should be simple to construct. For the buttons, each word gets it’s own piece of acrylic panel which sits underneath it’s area. Each panel gets each corner pinned by fairly small socket head cap screws, and the larger words also get one screw in the most central location possible. Each of these screws threads into the front panel, and floats through the acrylic panel. Behind that is a spring. This makes the natural position of the acrylic flush with the back of the front panel. At the back end of each screw are a nut, a very simple circuit board with one button, and another nut. The first nut is what aligns the button onto the acrylic surface, and the 2nd tightens the circuit board into place. The buttons for each word are merely wired together, and then wired back to the Monome controller circuits. Since the desired outcome of pressing any of the 4 or 5 buttons per word is to have that word received as a command, I don’t have to do anything more complex.

The LED lighting under the acrylic surface of the buttons is fairly simple, but more complex than a simple Monome kit. A Monome is intended to be laid out in a grid, with one LED per button. The Word Wall will have 1 letter words, all the way up to 8 letter words. One LED will definitely be enough to light up a 1 letter word, and maybe two or three letter words, but an 8 letter word will likely need 3-5 LEDs. Unfortunately, I can’t do something as simple as just wiring 5 LEDs up to the Monome controller. If I were to do that, words with more letters would be dimmer than words with fewer letters. There could be other side-effects as well. Instead, I will have to use the Monome circuit to drive mosfets, which are like electronic relays (ie, no big clicking sound) which then connect those LEDs to a constant amount of power. For this reason, and that of less wiring, I am grounding the front panel and just wiring up the positive side of the electronics. Additionally, I am mounting the LEDs to the back case, so that the light from the LEDs fills the letters evenly. The downside to having the LEDs farther away is that I suspect I will have to build some internal boxes per word out of chipboard or similar so that the light from one word doesn’t bleed over into the surrounding words.
If that weren’t enough, I have to finish up the Max/MSP patches that control the overall interaction. That too is based on open source, as people using Max/MSP with their Monomes often share their patches. I never end up just using someone’s patch as found, and I also will be customizing things based on viewing people interact with the wall. I’m not the greatest programmer, but when I finish this project, any files I create will be available.
Thanks to:
Ignition Northwest for partial funding. This is what is making it reasonable for me to create this thing.
Breona for word list fun and thinking through scenarios and possible button configurations.
Thomas York for some mechanical/process design/brainstorming sessions. Very helpful.
Ben Flaster for power and LED info and ideas.
Sunday Electric for feedback and a place and time to get some work done. Thanks to Clay and Laura.
Whoever helps me solder the 2000 connections once I get everything ready to put together.

(image from Monome)

(image from Monome)

Word Wall word station (still in progress)

One thought on “Word Wall Progress”
Leave a Reply
You must be logged in to post a comment.
This might be the final edit of the words themselves.
I might change one or two words still, but I’m going to try to finalize this by tonight and put together the files to submit to the water jet company.